
ADULT SWIM - YOLO Silver Destiny ID
Michael Cusack’s YOLO Crystal Fantasy is probably my favorite animated show of all time. It’s insane, it’s unhinged, it feels like a drunken fever dream, the characters are constantly going off-model in hilarious ways, and it’s an absolutely incredible blend of amazing animation with weird, late-night humor that Adult Swim is known for. When Adult Swim reached out to me asking if I could do an ident for the new season of YOLO, called YOLO Silver Destiny, I was delighted. I’ve always wanted to try to bring these crazy-looking characters into 3D. If you’ve never watched YOLO before, I cannot recommend enough that you go to HBO Max and check it out.
Everything for this ident was made from scratch — modeled, rigged, animated, simulated, and textured — with the exception of the fedora model, which was sourced from Sketchfab, and the clothing textures, which were sourced from AMD’s open-source MaterialX Library. The music was composed by my good friend and colleague, Jamie de Lange.
Characters and props were modeled in Houdini. Clothing was designed and draped over the characters using Marvelous Designer. Rigging, animation, simulating (clothing, hair, softbody, liquid melting), and all other aspects were done in Houdini. Lighting, texturing, and rendering were all done in Houdini’s Solaris using USD, MaterialX, and Karma XPU. Final color grading was done in After Effects.
Scroll down to see some final frames as well as process shots along with some details on the workflows I used to create this! If you’re on mobile, apologies in advance for the poor formatting!
Some Final Shots:


Process Shots:


(Left to Right):
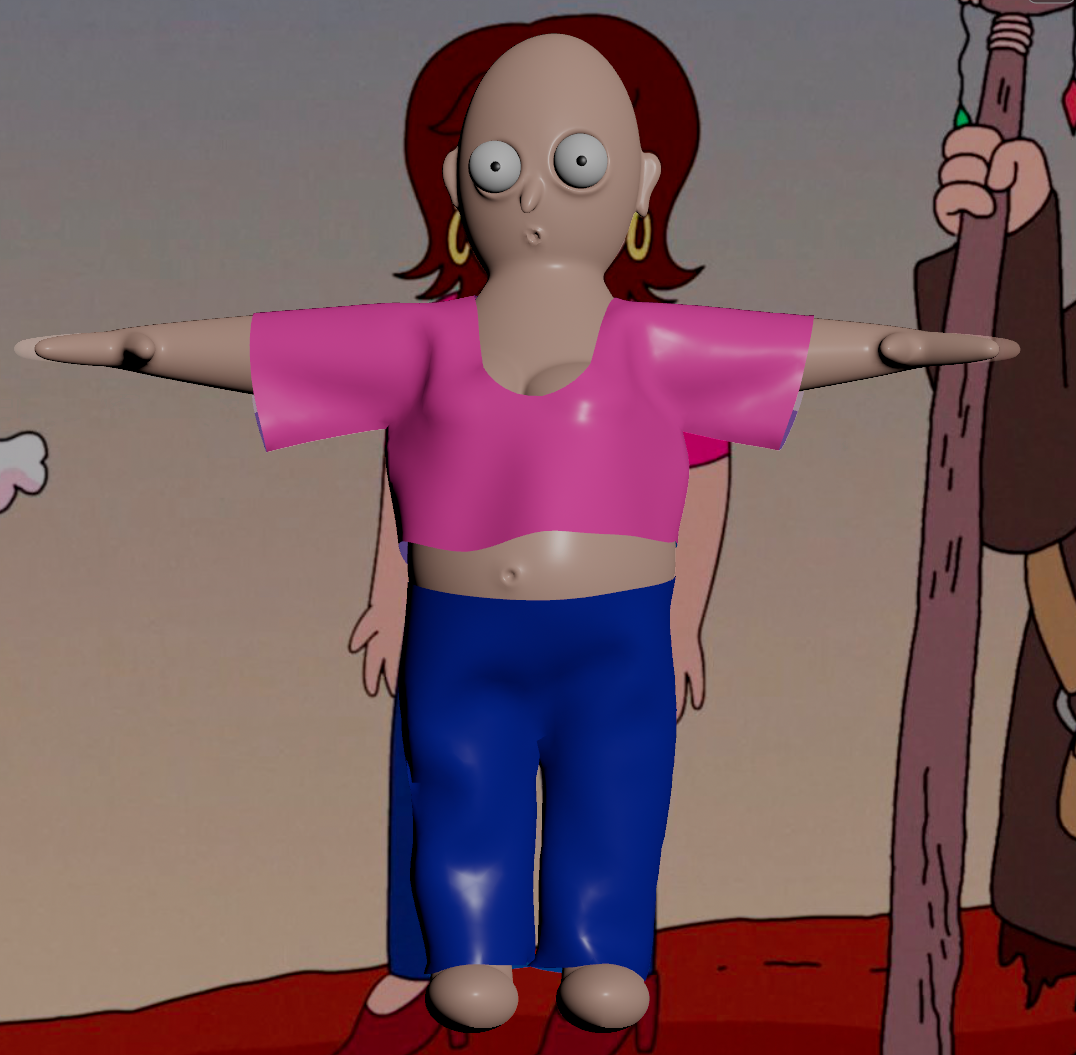
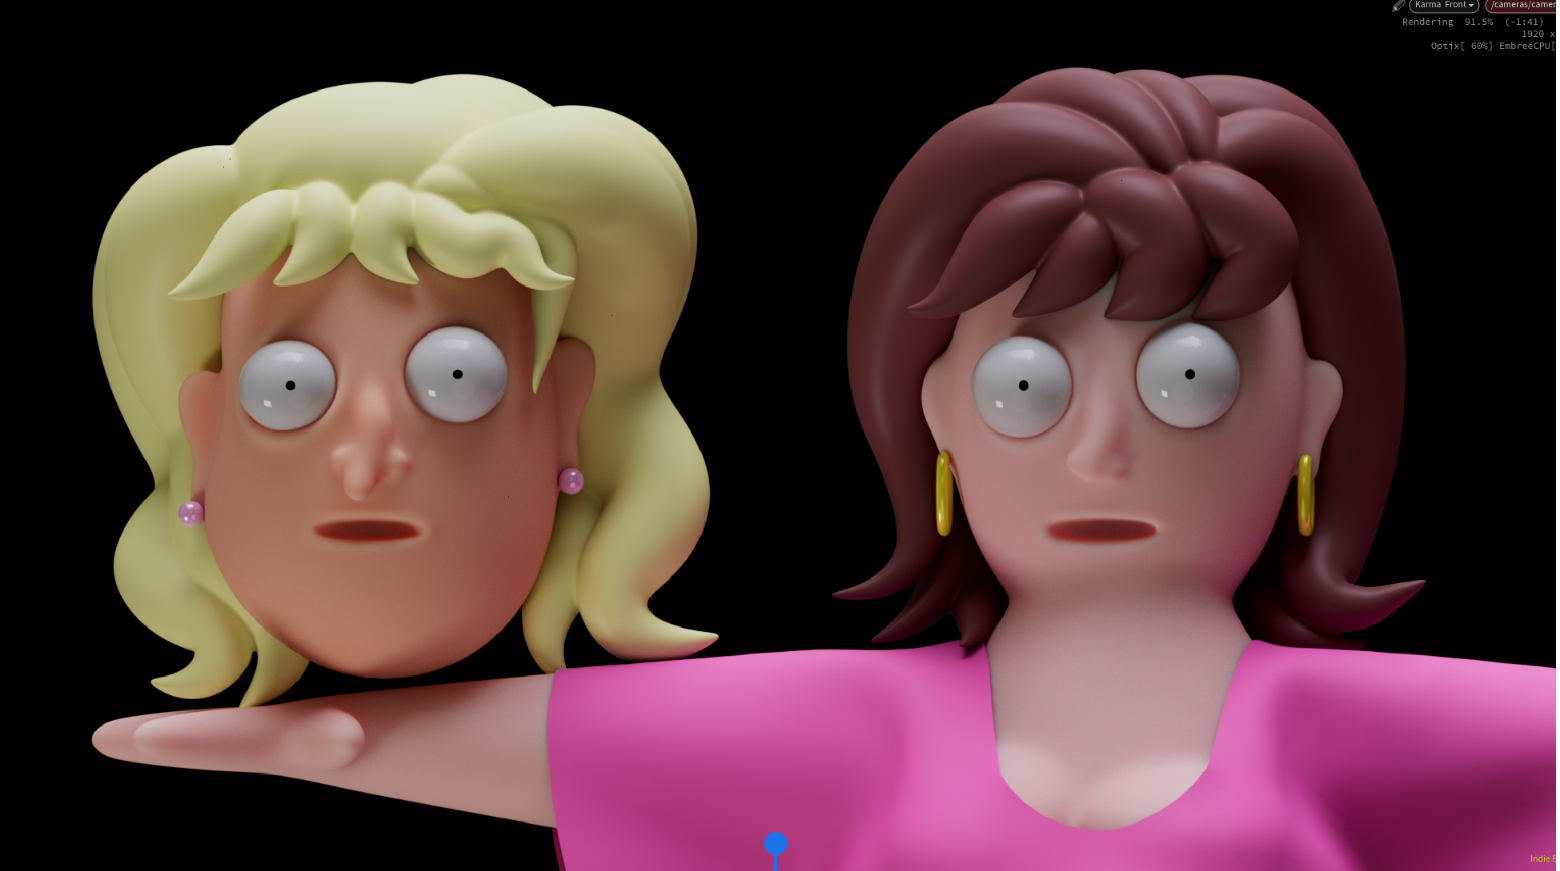
(1) Sarah head & eyes model with reference image. I had reference images templated in the background while modeling each character so that I could sculpt them as closely to the 2D designs as possible. (2) Full body and clothing model with reference image. Characters were t-posed during modeling to make rigging easier. (3) Hair topology. Each characters’ hair was designed by modeling a series of spline curves and then sweeping circular cross-sections along them with varying scales. (4) Clothing in Marvelous Designer.


(Left to Right):
(1) Rachel head & eyes model with reference image. (2) Side view of Rachel with teeth. In the show, Rachel is usually toothless, but occasionally opens her mouth wide and shows sharp teeth when she is making more menacing expressions. I set up a control for the face rig that allowed her teeth to shrink/grow from her mouth and linked the slider to her “evil” pose. (3) Clothing in Marvelous Designer. (4) Rachel’s eyes sometimes go slightly crossed in the show, so I built a control for the face rig that allowed me to make them crossed both vertically and horizontally.


(Left to Right):
(1) Setting up face landmarks for Sarah’s face rig. Normally I just make different blend shapes with soft transforms for my characters’ faces, but for this project I decided to try a new workflow that involved a more advanced face rig that can be controlled using Rig Poses. In the end, I still ended up setting these up as different facial “poses” and animating them as blend shapes., but having a full skeleton to control the face with allowed for a lot more control. (2) The face rig skeleton being tweaked with a Rig Pose on the right and the resulting facial expression on the left. (3) Having some fun messing with Rachel’s face rig. These characters are great for making nightmare fuel!


(Left to Right):
(1) Lookdev for Rachel. (2) Sub-surface scattering tests with Rachel and Sarah. Ended up not doing any SSS for the final render, as the render times were far too long for a very minimal difference. (3) Close-up lookdev of Rachel’s skin shader.


(Left to Right):
(1) Modeling Lucas with reference image in the background. What a handsome boy! (2) Pants in Marvelous Designer. (3) Clothing in Marvelouse Designer. After initially trying with Lucas in a T-pose, I realized his more complicated collared shirt would require me to re-pose him in an A-pose and then bring him back into Marvelous. (4) Test poses with Lucas’s rig.


Llquid sims are fun, but the use of them here presented a bunch of unique challenges. It was pretty difficult to get the melting -> unmelting workflow to work seamlessly, as I had to (a) maintain UVs, (b), maintain colors and point/primitive attributes, (c) maintain mesh groups, and (d) use SDF volumes, which are notoriously difficult to maintain any of the above with. I ended up building a pretty hacky but effective workflow. Basically, I had several streams of geometry that were all swapping with each other: I had each characters’ base animated mesh, I had Sarah’s melting sim, Rachel’s melting & unmelting sims, Lucas’s melting sim, Sarah’s melted puddle blending seamlessly into Rachel’s unmelted puddle, Rachel’s melted puddle blending seamlessly into Lucas’s unmelted puddle, Lucas’s swirling mesh, the exploding liquid following Lucas, the [as] logo, and the exploding Lucas liquid blending seamlessly into the [as] logo.
(1) First, to get Sarah to melt seamlessly while still maintaining everything necessary to keep her textured,, I opted to take her base animated mesh and point deform that by the points from her melting simulation. With some smoothing, this worked pretty well!
(2) Unfortunately, I also needed to get Sarah to melt and then Rachel to seamlessly emerge / “un-melt” from that puddle. In order to get a seamless blend between two meshes, I needed to turn them into volumes, which would not maintain any of the UVs. So not only did I need to blend between these two volumes, but I needed a way to have Rachel’s point deformed mesh seamlessly change into an actual, liquid SDF puddle, and then that same liquid SDF puddle to seamlessly change into Rachel’s point deformed mesh. I’m sure there are some fairly procedural ways to do this, but I ended up using an animated sphere as a bounding volume that grouped points on the meshes and then split them accordingly. As Rachel’s mesh began “melting” and intersecting with the expanding sphere, the points inside the sphere were deleted. In a separate geometry stream, that same melting mesh was being converted into an SDF, and using an inversion of the same point grouping, it was deleting anything outside of the expanding sphere. Then, with a little bit of group expanding and shrinking, I was able to get it to look pretty seamless. This process was repeated for each melt->unmelt sequence, allowing me to keep the original character meshes while still using SDF volumes for the melted parts.